Building a Titan Model Kit
|
Working with Vacformed Parts:
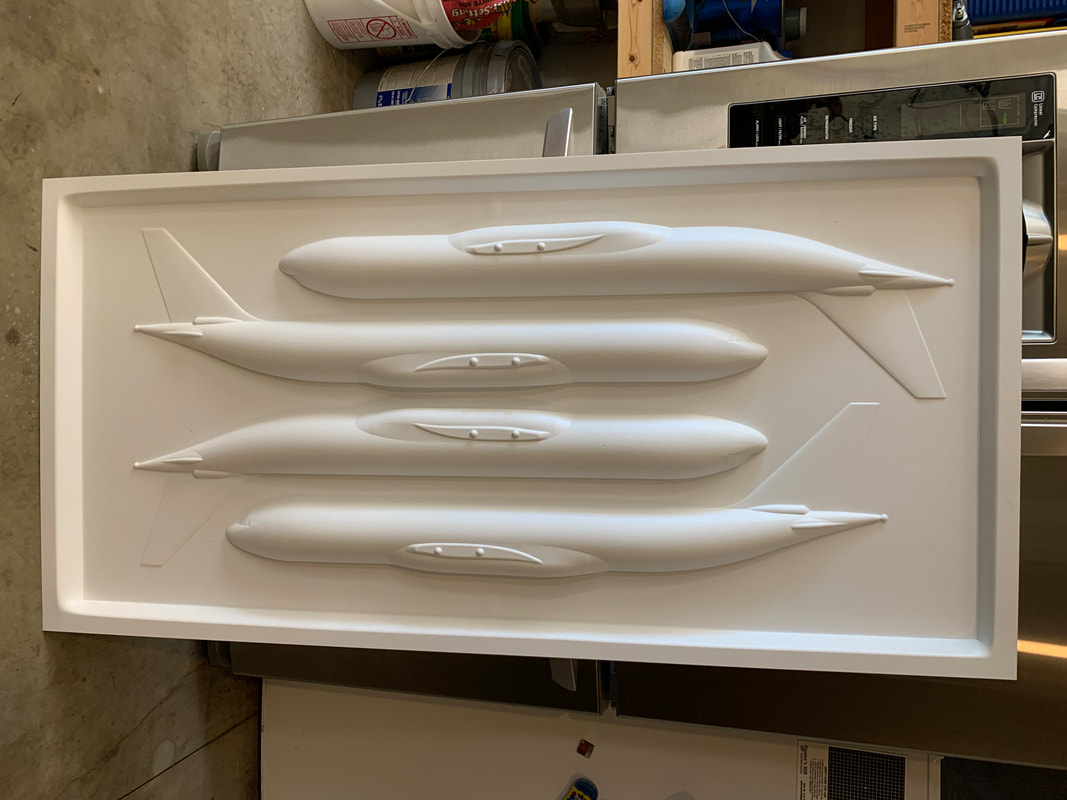
The fuselage halves, wing halves, and sometimes other large parts are vacuum formed from sturdy high-impact polystyrene plastic (HIPS). Vacformed parts are white in color. HIPS is very similar to the plastic used in injection-molded kits. Vacformed parts must first be cut out with a sharp knife prior to assembly. Vacformed parts can be glued together using solvent-based model cements that chemically weld the parts together. This is the same way that you're accustomed to assembling an injection molded kit. |
|
Working With 3D Printed Parts:
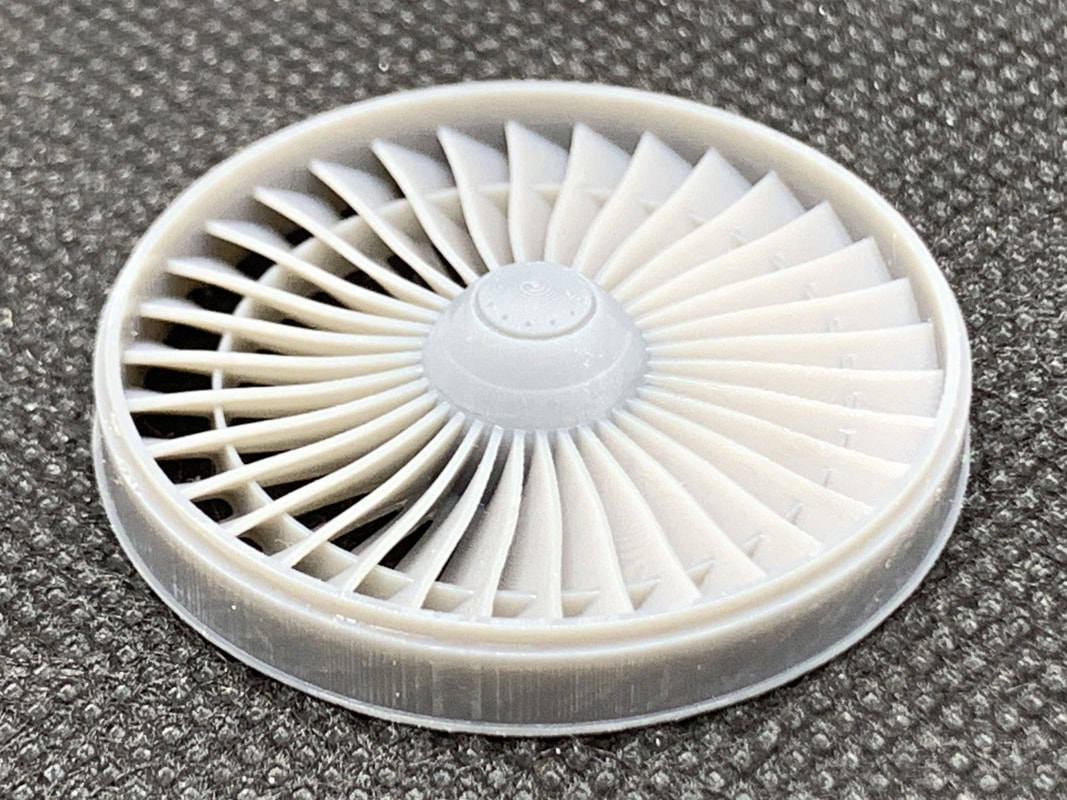
Titan Model Kits' ultra-high-resolution 3D printed parts are made from UV-cured resin and have similar hardness and strength to cast resin. 3D printed parts are grey in color. They are typically much lighter in weight than cast resin parts. To assemble 3D printed parts and to attach 3D printed parts to vacformed parts, use cyanoacrylate (Superglue) or 2-part epoxy. Solvent based model cements will not work. |
|
Layering:
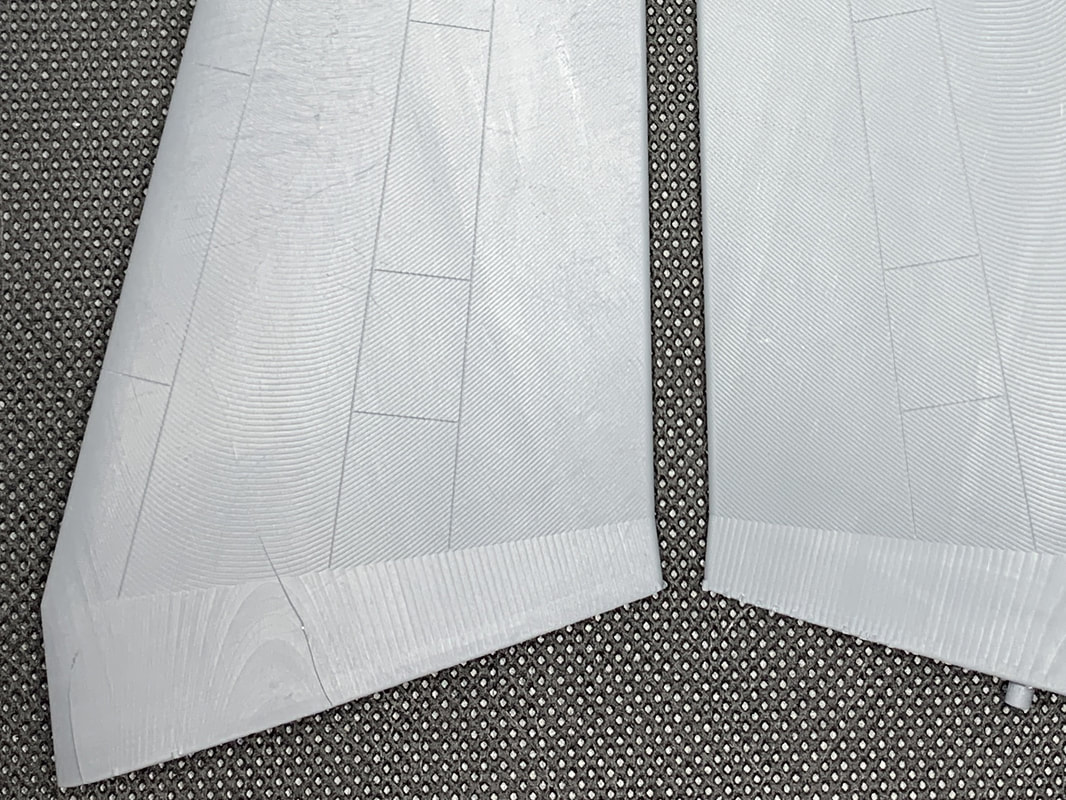
3D printed parts are composed of discrete layers that can be up to 32 microns thick. While every effort is made to minimize the visibility of the layering, you may see small step-marks on the part, particularly on large, smooth, curved surfaces. We recommend that you first prime the part with a high-quality primer. When the primer is dry, wet-sand to even the surfaces. Usually just a few minutes with a wet-dry sandpaper (from 320 to 600 grit) is all that is required. Don't worry, you are unlikely to sand away panel lines or details. On smaller, more detailed parts any visible layering pattern can usually be eliminated with a few coats of a high-quality spray primer. |
|
Removing Resin Supports:
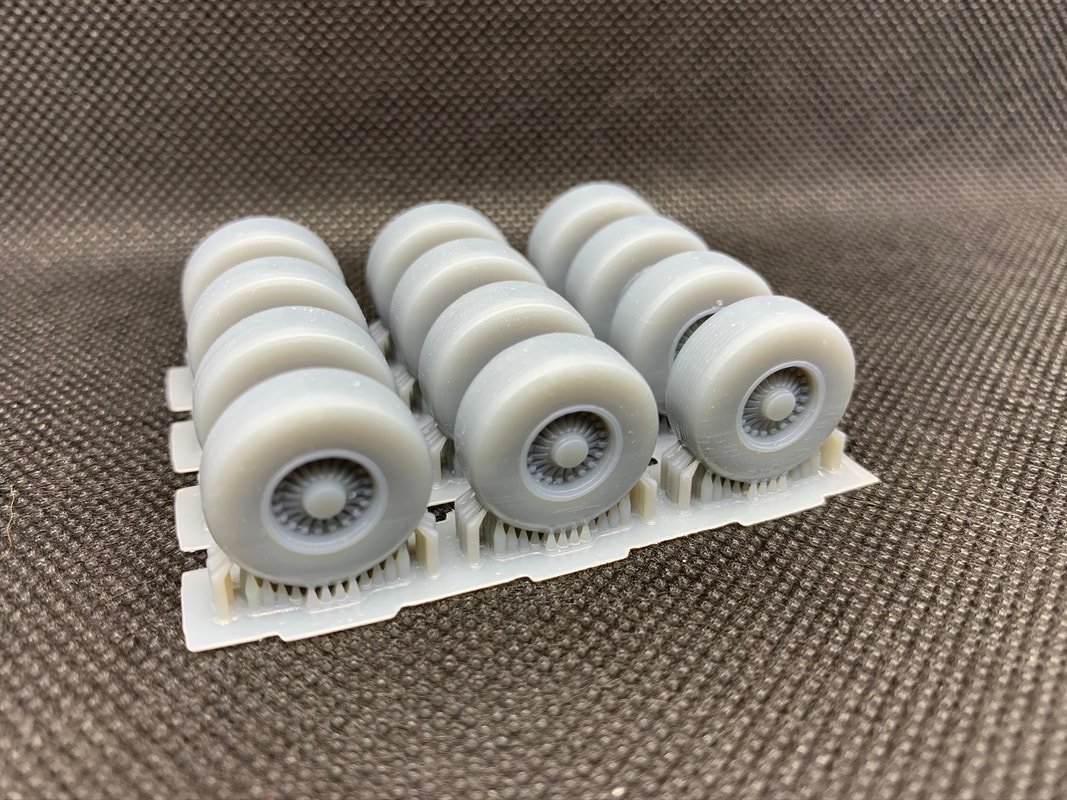
The 3D printing process uses resin support columns during printing. These supports are made of the same resin as the part. Depending on the part, you may need to remove some of these supports. Carefully remove the supports with sprue cutters, utility knife, or cuticle scissors. Twisting and pulling is likely to damage the part. Depending on the geometry of the part, the supports may leave small dimples on the part surface where they attached. Lightly wet sand these areas. |
|
Working With Clear Parts:
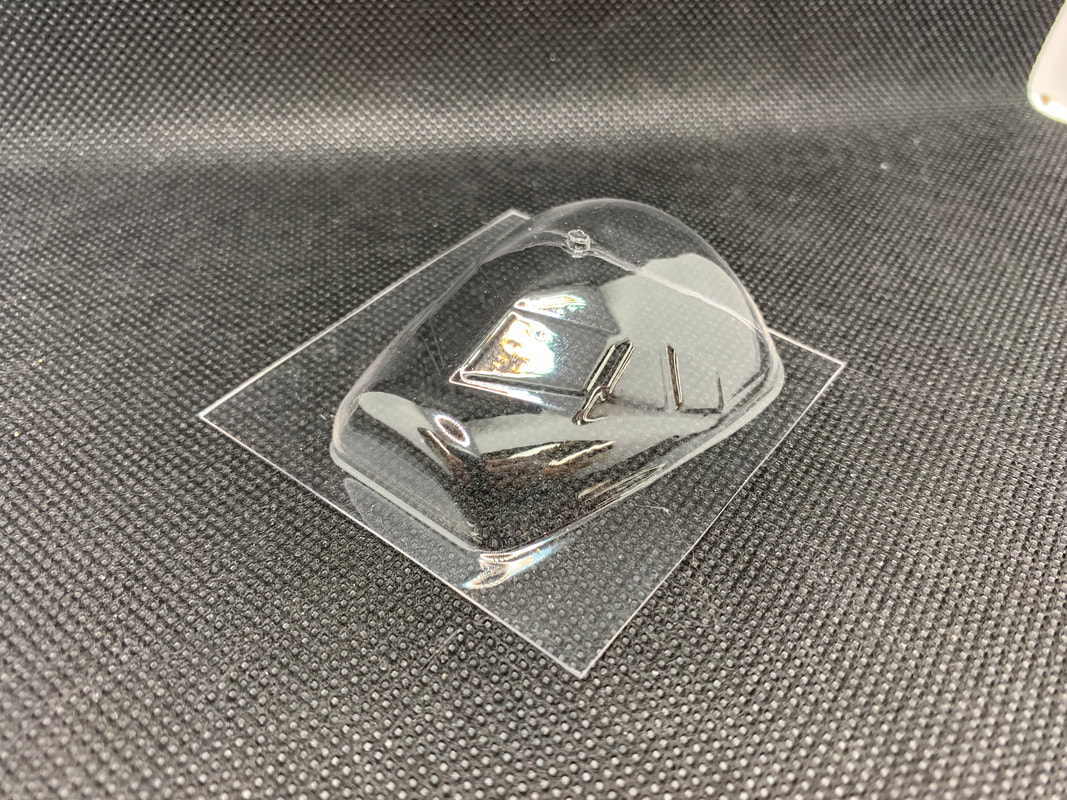
Clear vacuum-formed cockpit window transparencies are included with each kit. They are formed using molds created from the same CAD data as the rest of the kit. Decide early in your build if you plan to use the clear transparencies or if you will instead use cockpit window decals from DRAWDecal.com |

